Documentation Index
Fetch the complete documentation index at: https://support.eqtble.com/llms.txt
Use this file to discover all available pages before exploring further.
Before you begin
You will need to be a Workday admin to complete these integration stepsNeed help? Let eqtble set up Workday for you
We will schedule a call with whoever is the Workday admin on your side.Integrate eqtble with Workday
Eqtble integrates with Workday using Workday’s Report as a Service (RaaS) feature. This feature allows you to create custom reports and expose them as a REST API. Eqtble will then pull the data from the REST API and sync it to your eqtble account.Step 1: Create a new Workday user
Create a new User
- Sign in to your Workday account.
- Create a new Integration System User for eqtble to use.
Create a new Security Group
- In the Create Security Group window, set the Type of Tenanted Security Group to Integration System Security Group (Unconstrained).
- Enter a Security Group Name and click OK.
- In the Edit Integration System Security Group (Unconstrained) window, add the integration system user you created in the Integration System Users field.
- Click OK.
Add domain security policies
- Go to Security Group Settings > Maintain Domain Permissions for Security Group.
- In the Integration Permissions window, permit the domain security policies to have
Getaccess.
Activate Policies
- Go to the Activate Pending Security Policy Changes page and click OK.
- Click Confirm to activate.
Step 2: Create the custom reports
Please take a look at the following Google Sheet for the required reports and fields.All Worker Details
Click here to view the required fields for the All Worker Details report.
Positions
Click here to view the required fields for the Positions report.
Transactional
Click here to view the required fields for the Transactional report.
- On the Create Custom Report page, enter the Report Name.
- In the Report Type drop-down menu, select Advanced.
- Select the Enable as Web Service option.
- Add Data Source. Add the fields you want to sync.
- In the custom report’s Share tab, add the user you created in Step 1 in the Authorized Users field.
- In each custom report’s Advanced tab, share each report to Report-as-a-WebService.
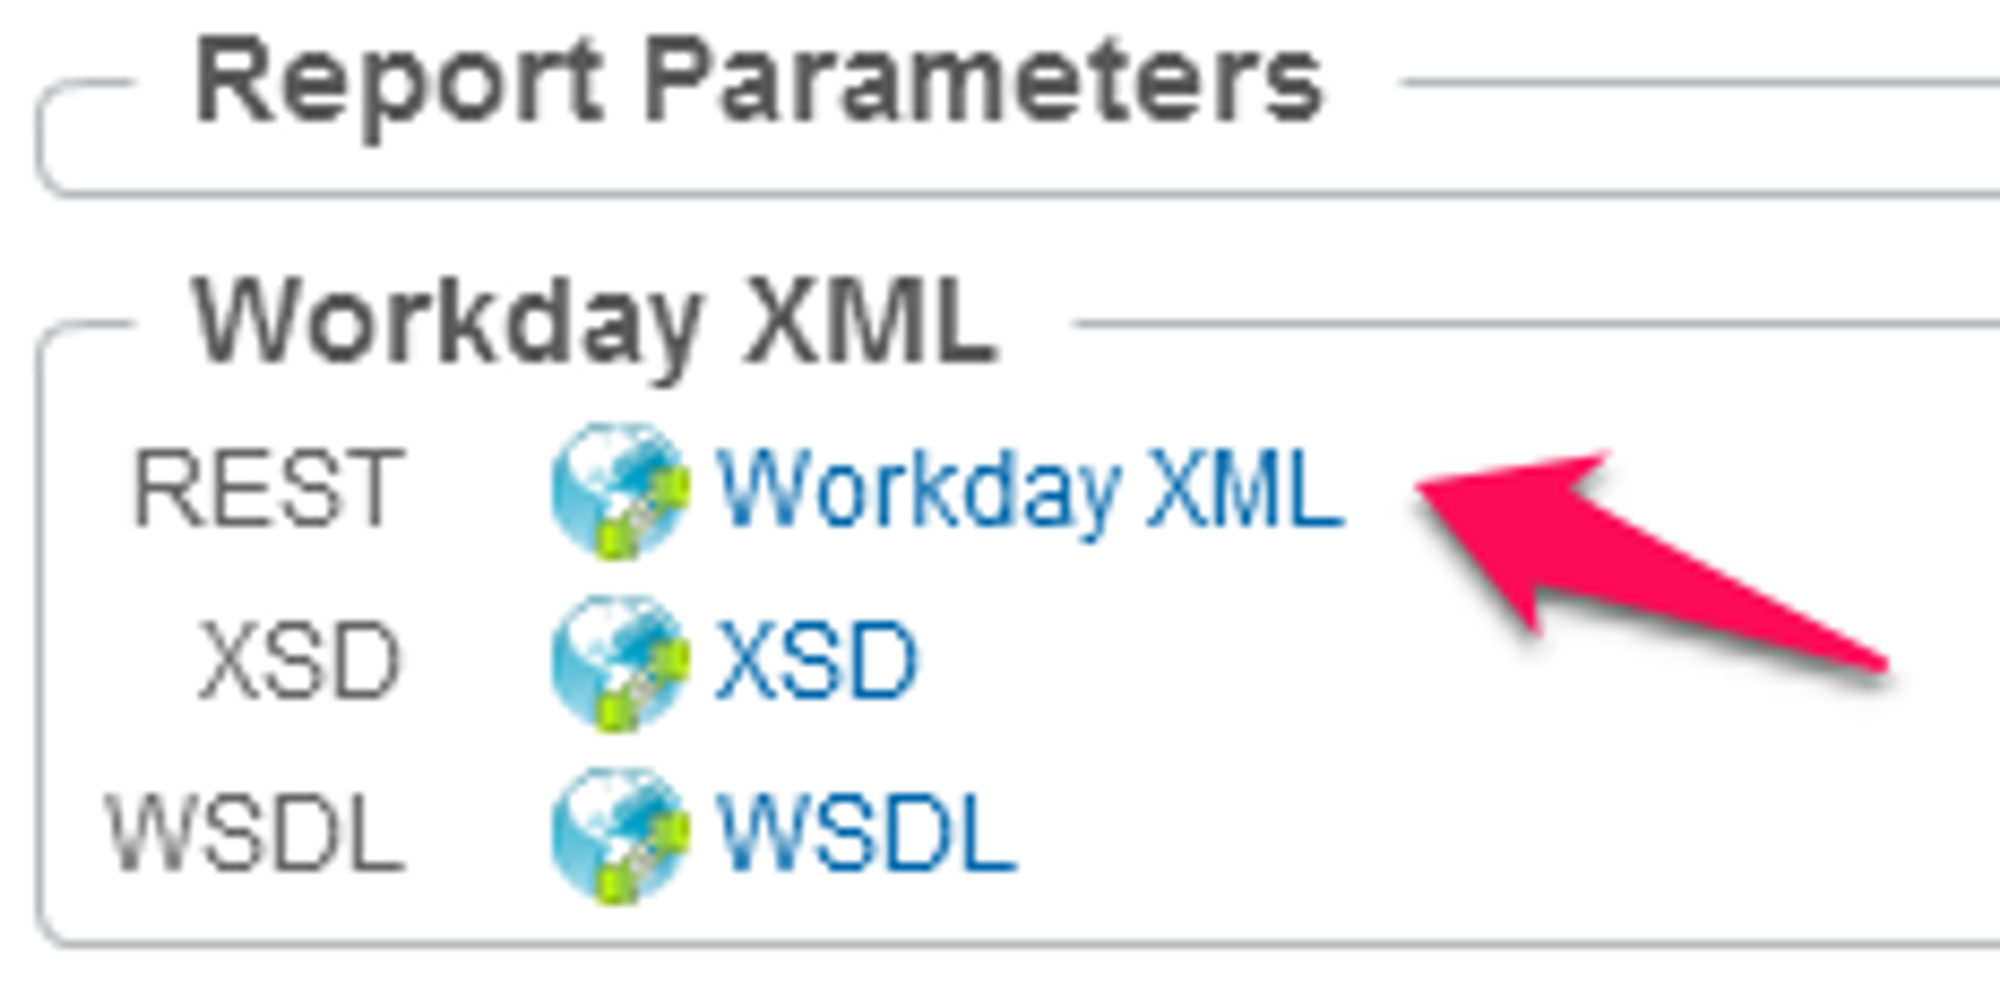
- For each report, go to Actions —> Web Service —> View URLs. Make a note of the REST URL. We will need it to set up the connector.
- Test each report by pasting it into a new browser session, and log in using the eqtble ELT web service user. If the Report XML does not display, check your user security settings.
- Select the primary key(s). To track the history of the report data, make a timestamp column part of the composite primary key.

Step 3: Set up the connector
- Login to the eqtble app.
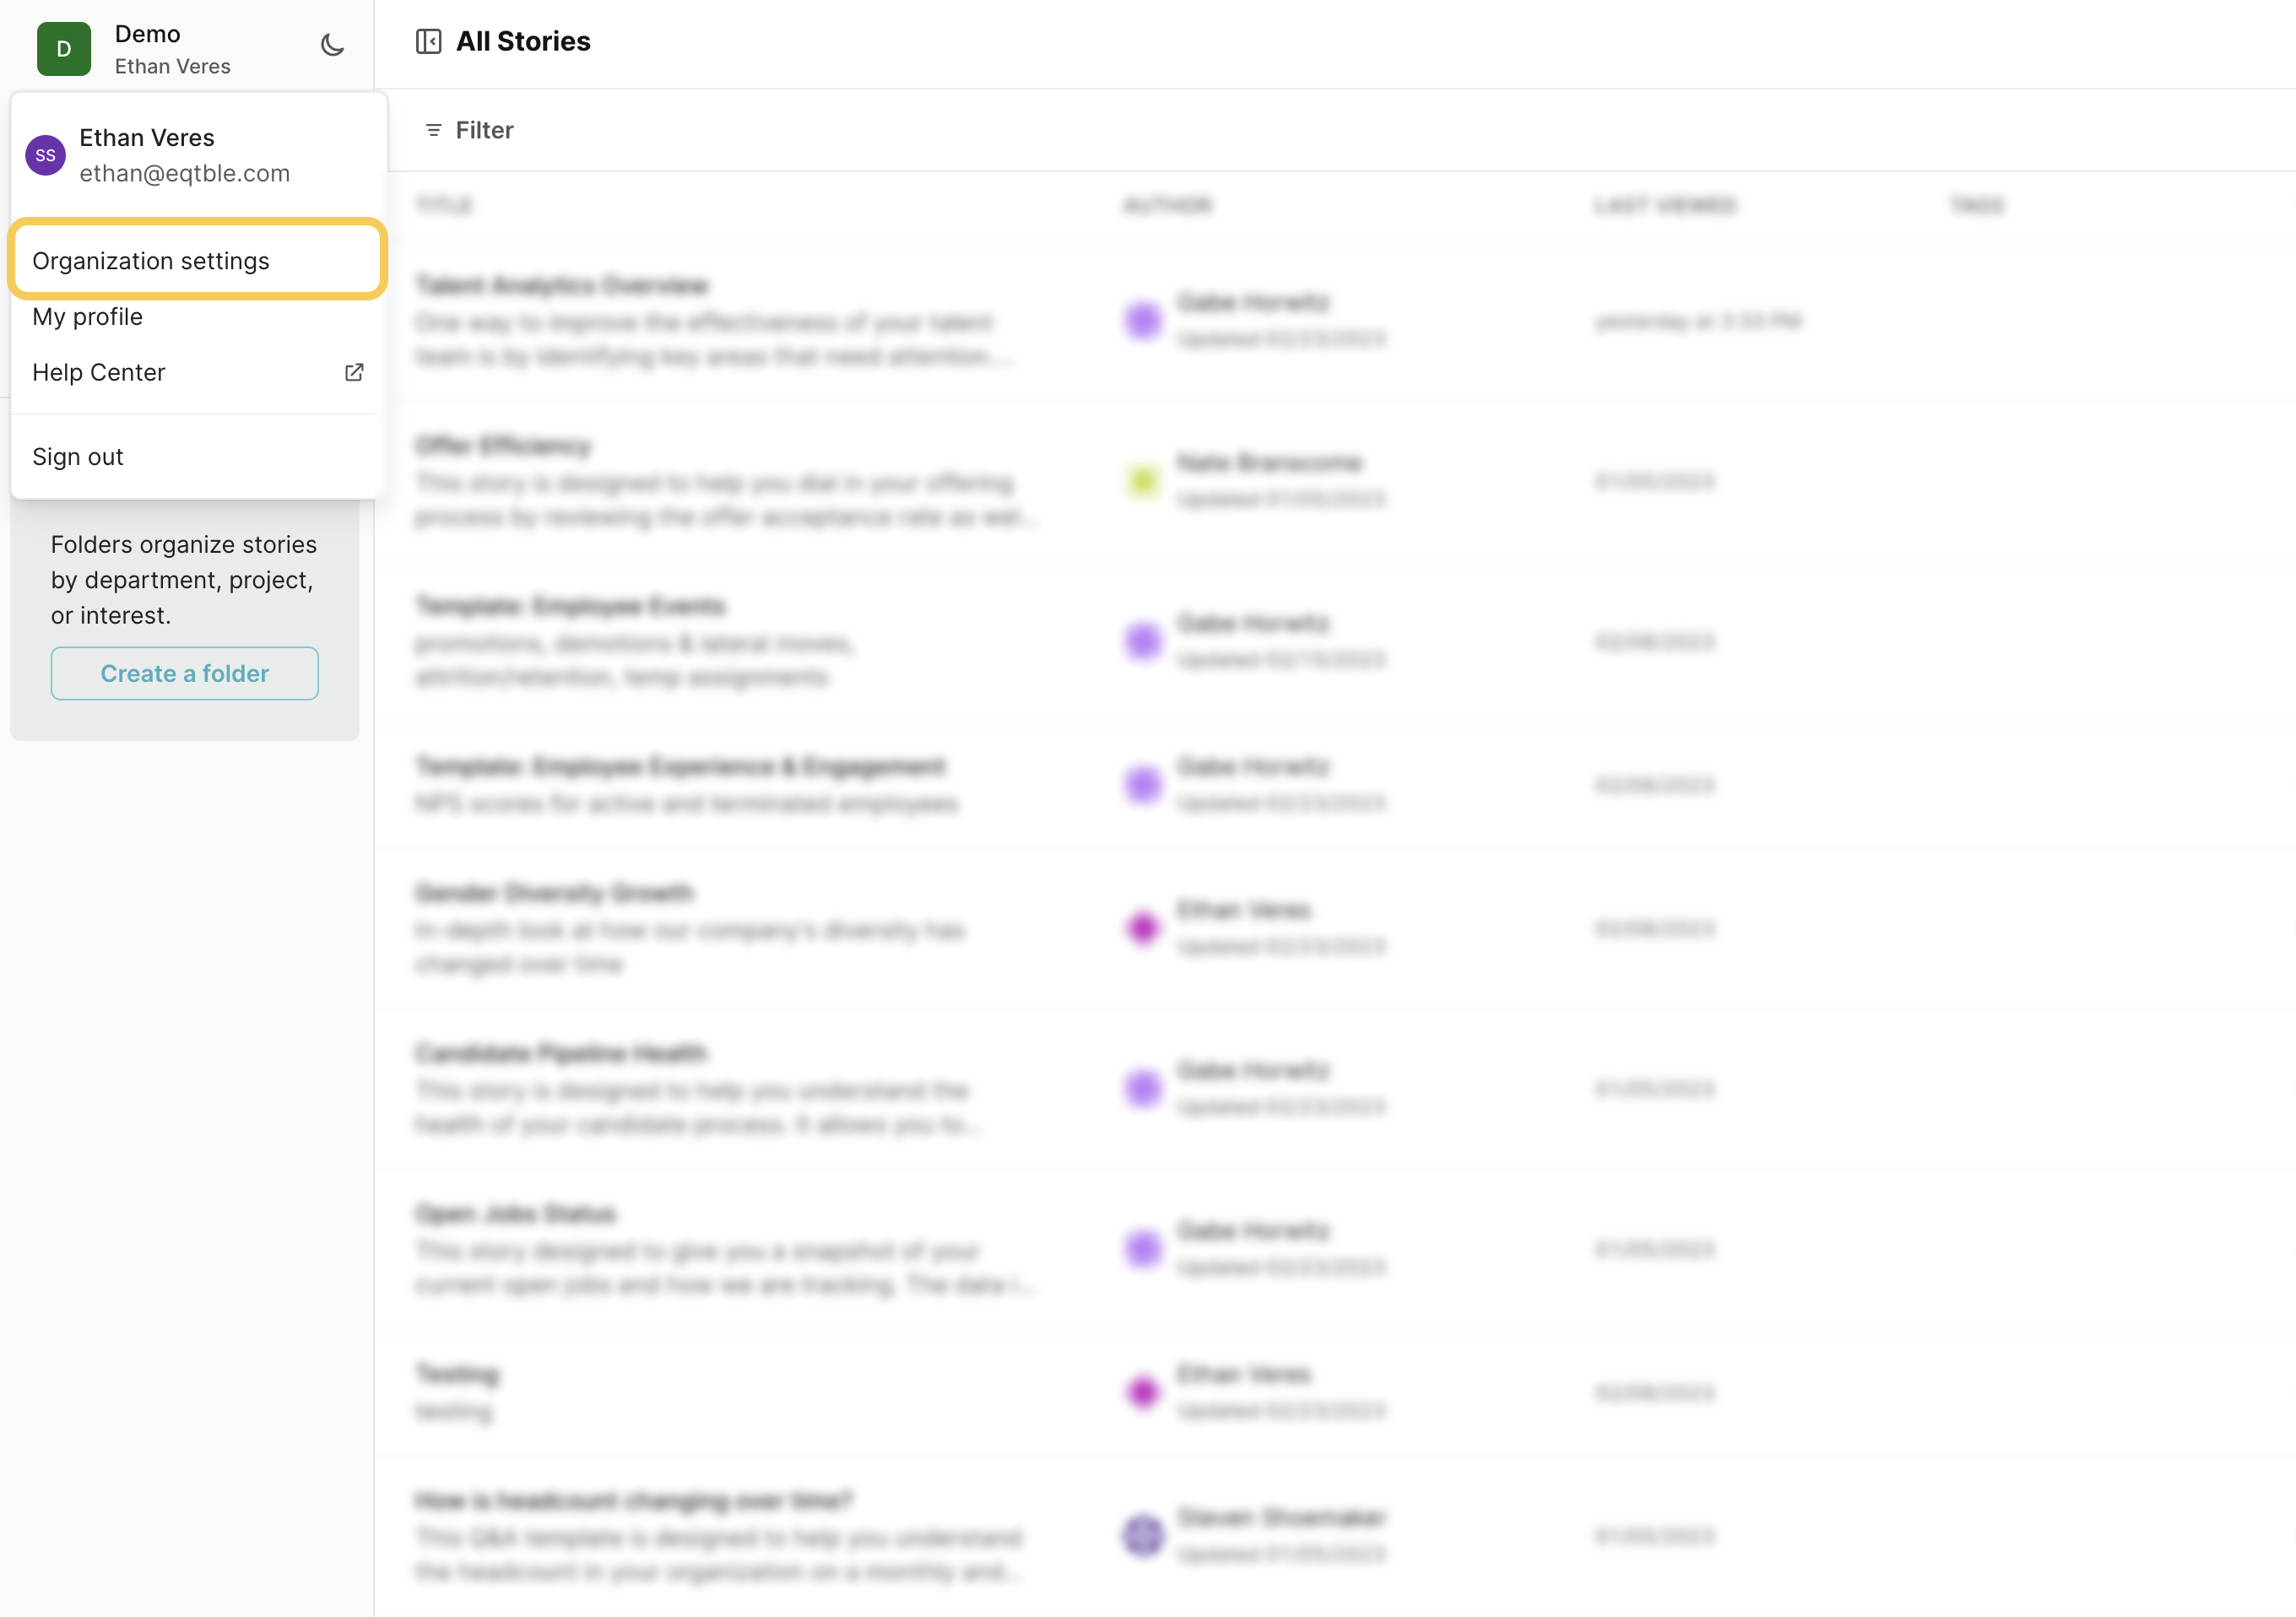
- Navigate to Organization Settings.
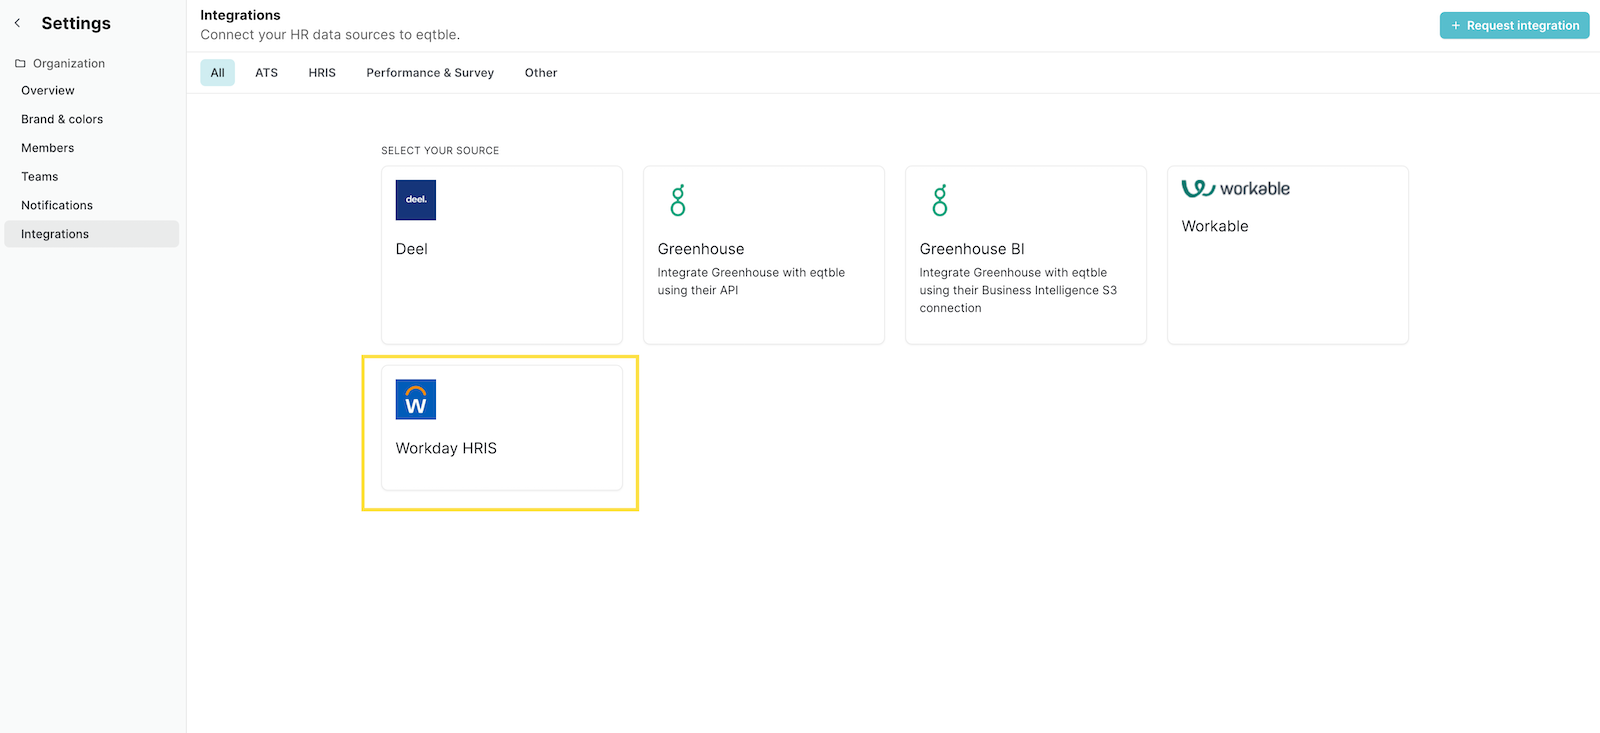
- Select Integrations and select Workday HRIS
- Enter the username and password for the Workday user you created in Step 1.
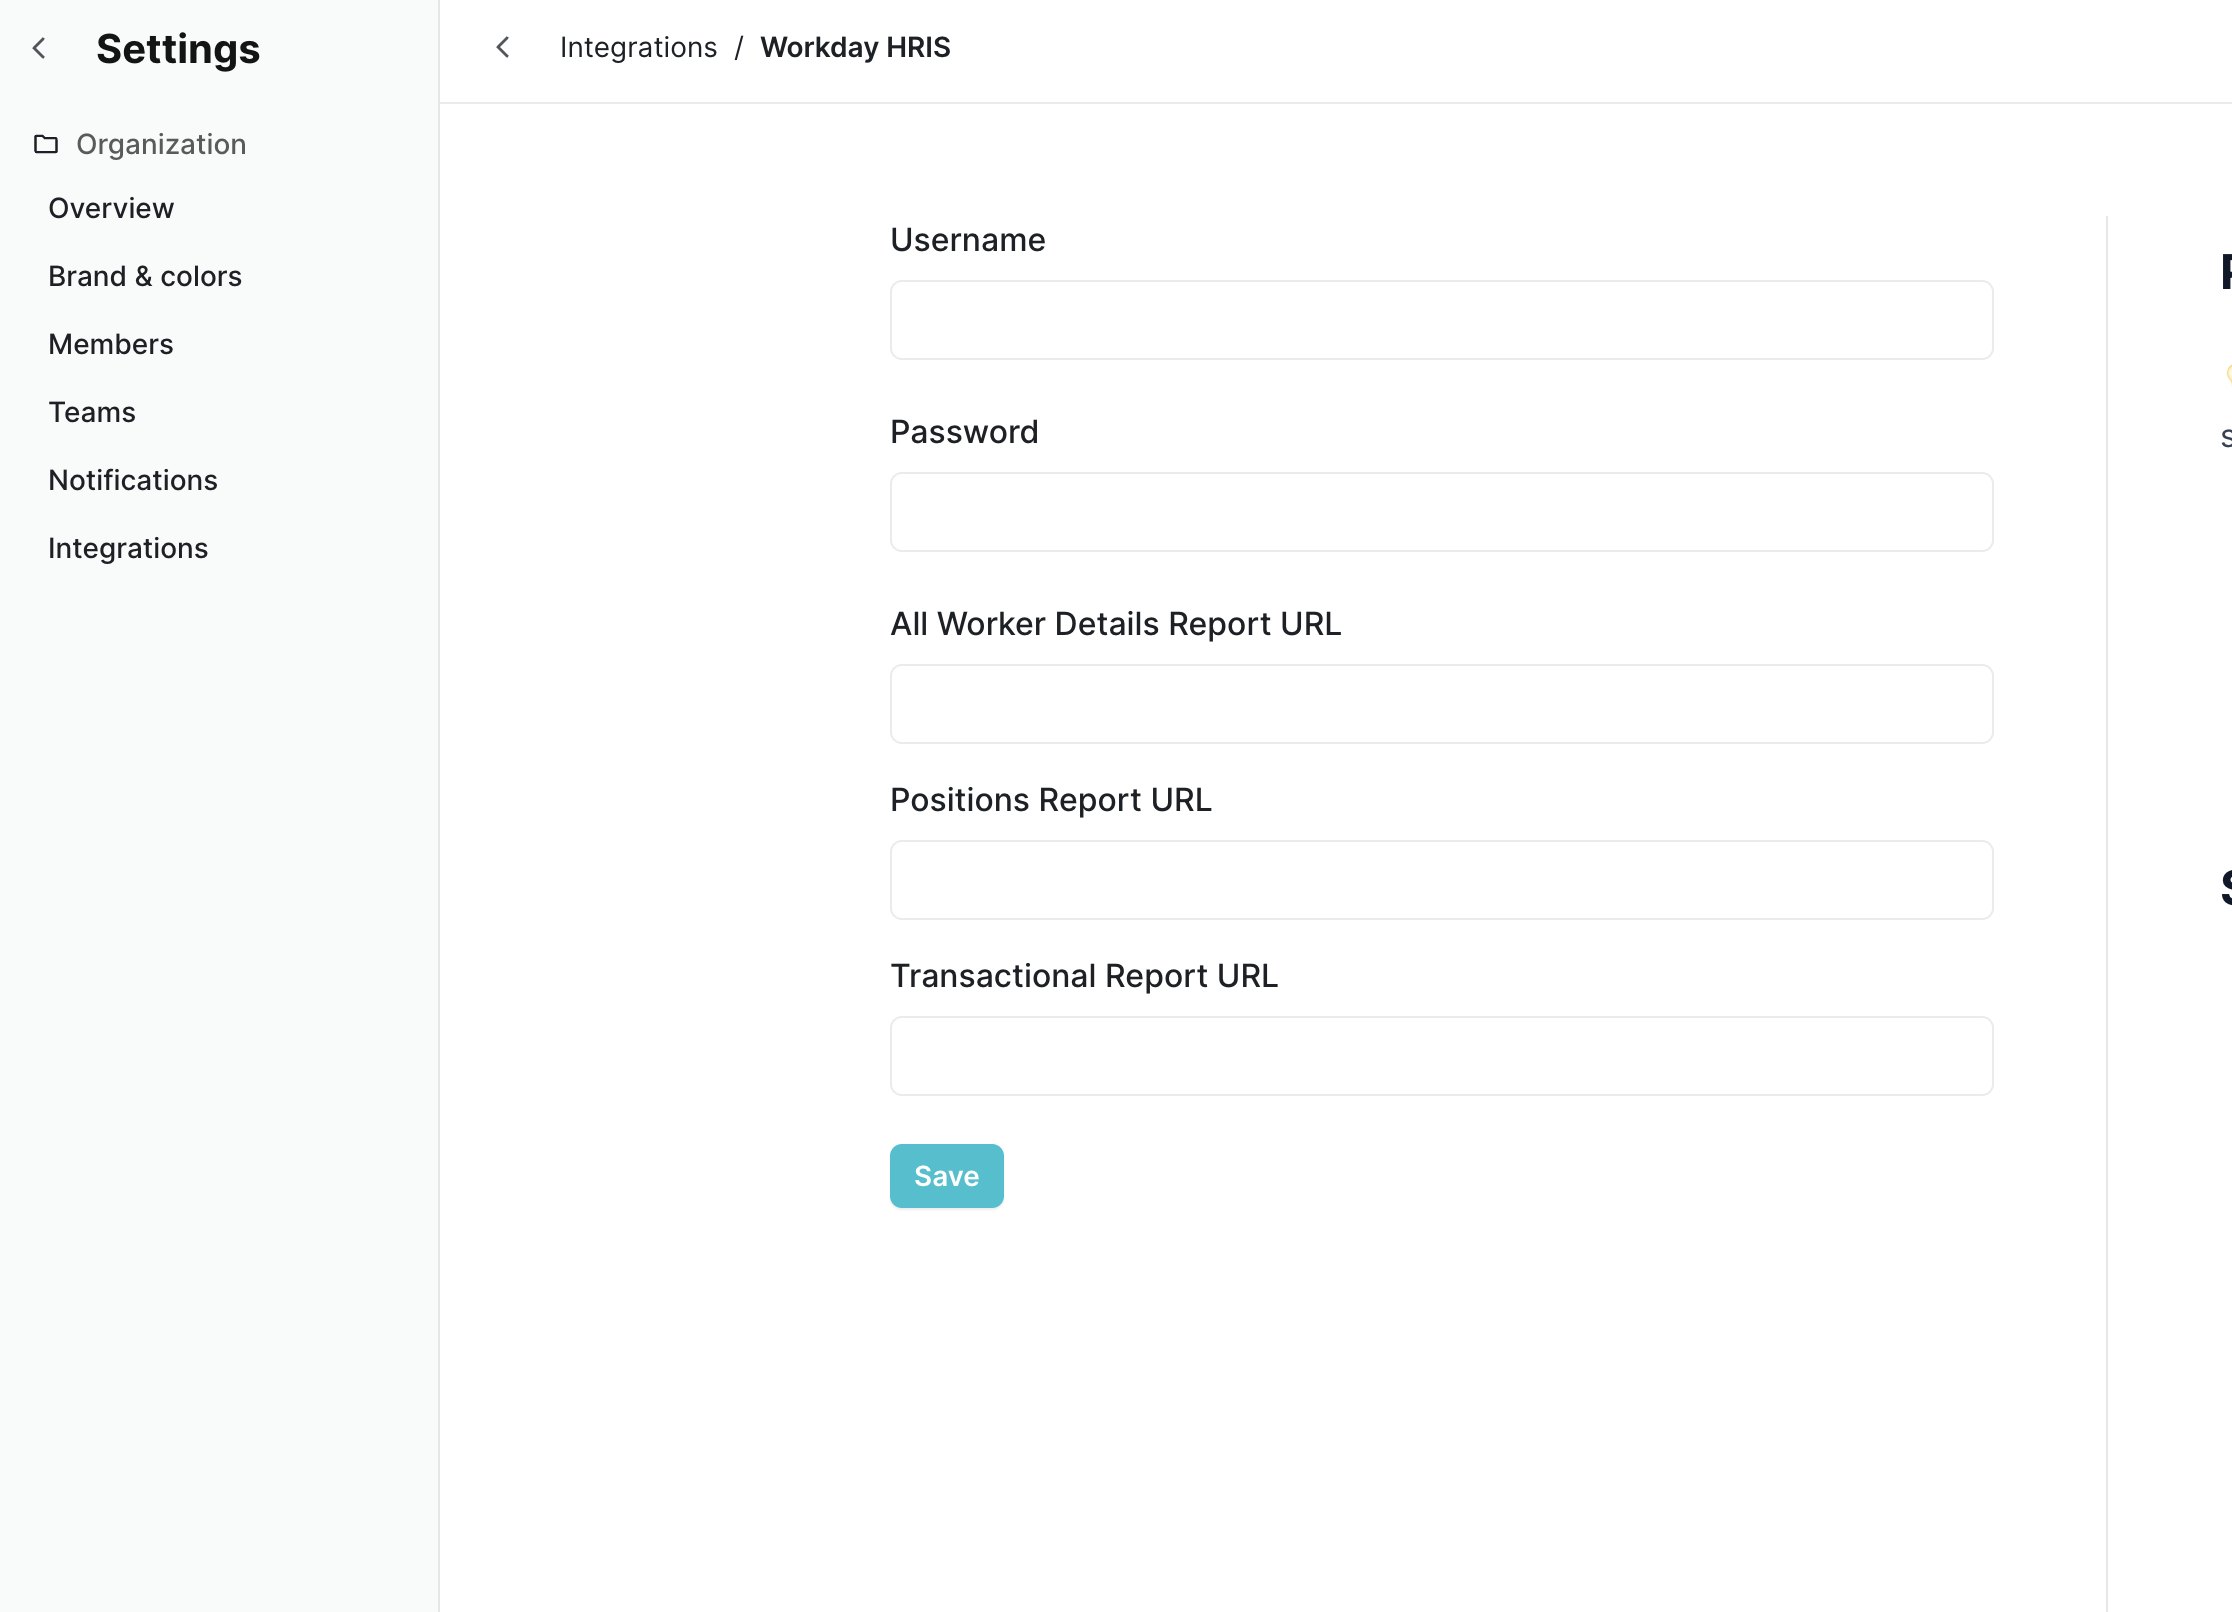
- Enter the URLs for each report you created in Step 2.
- Click Save.